
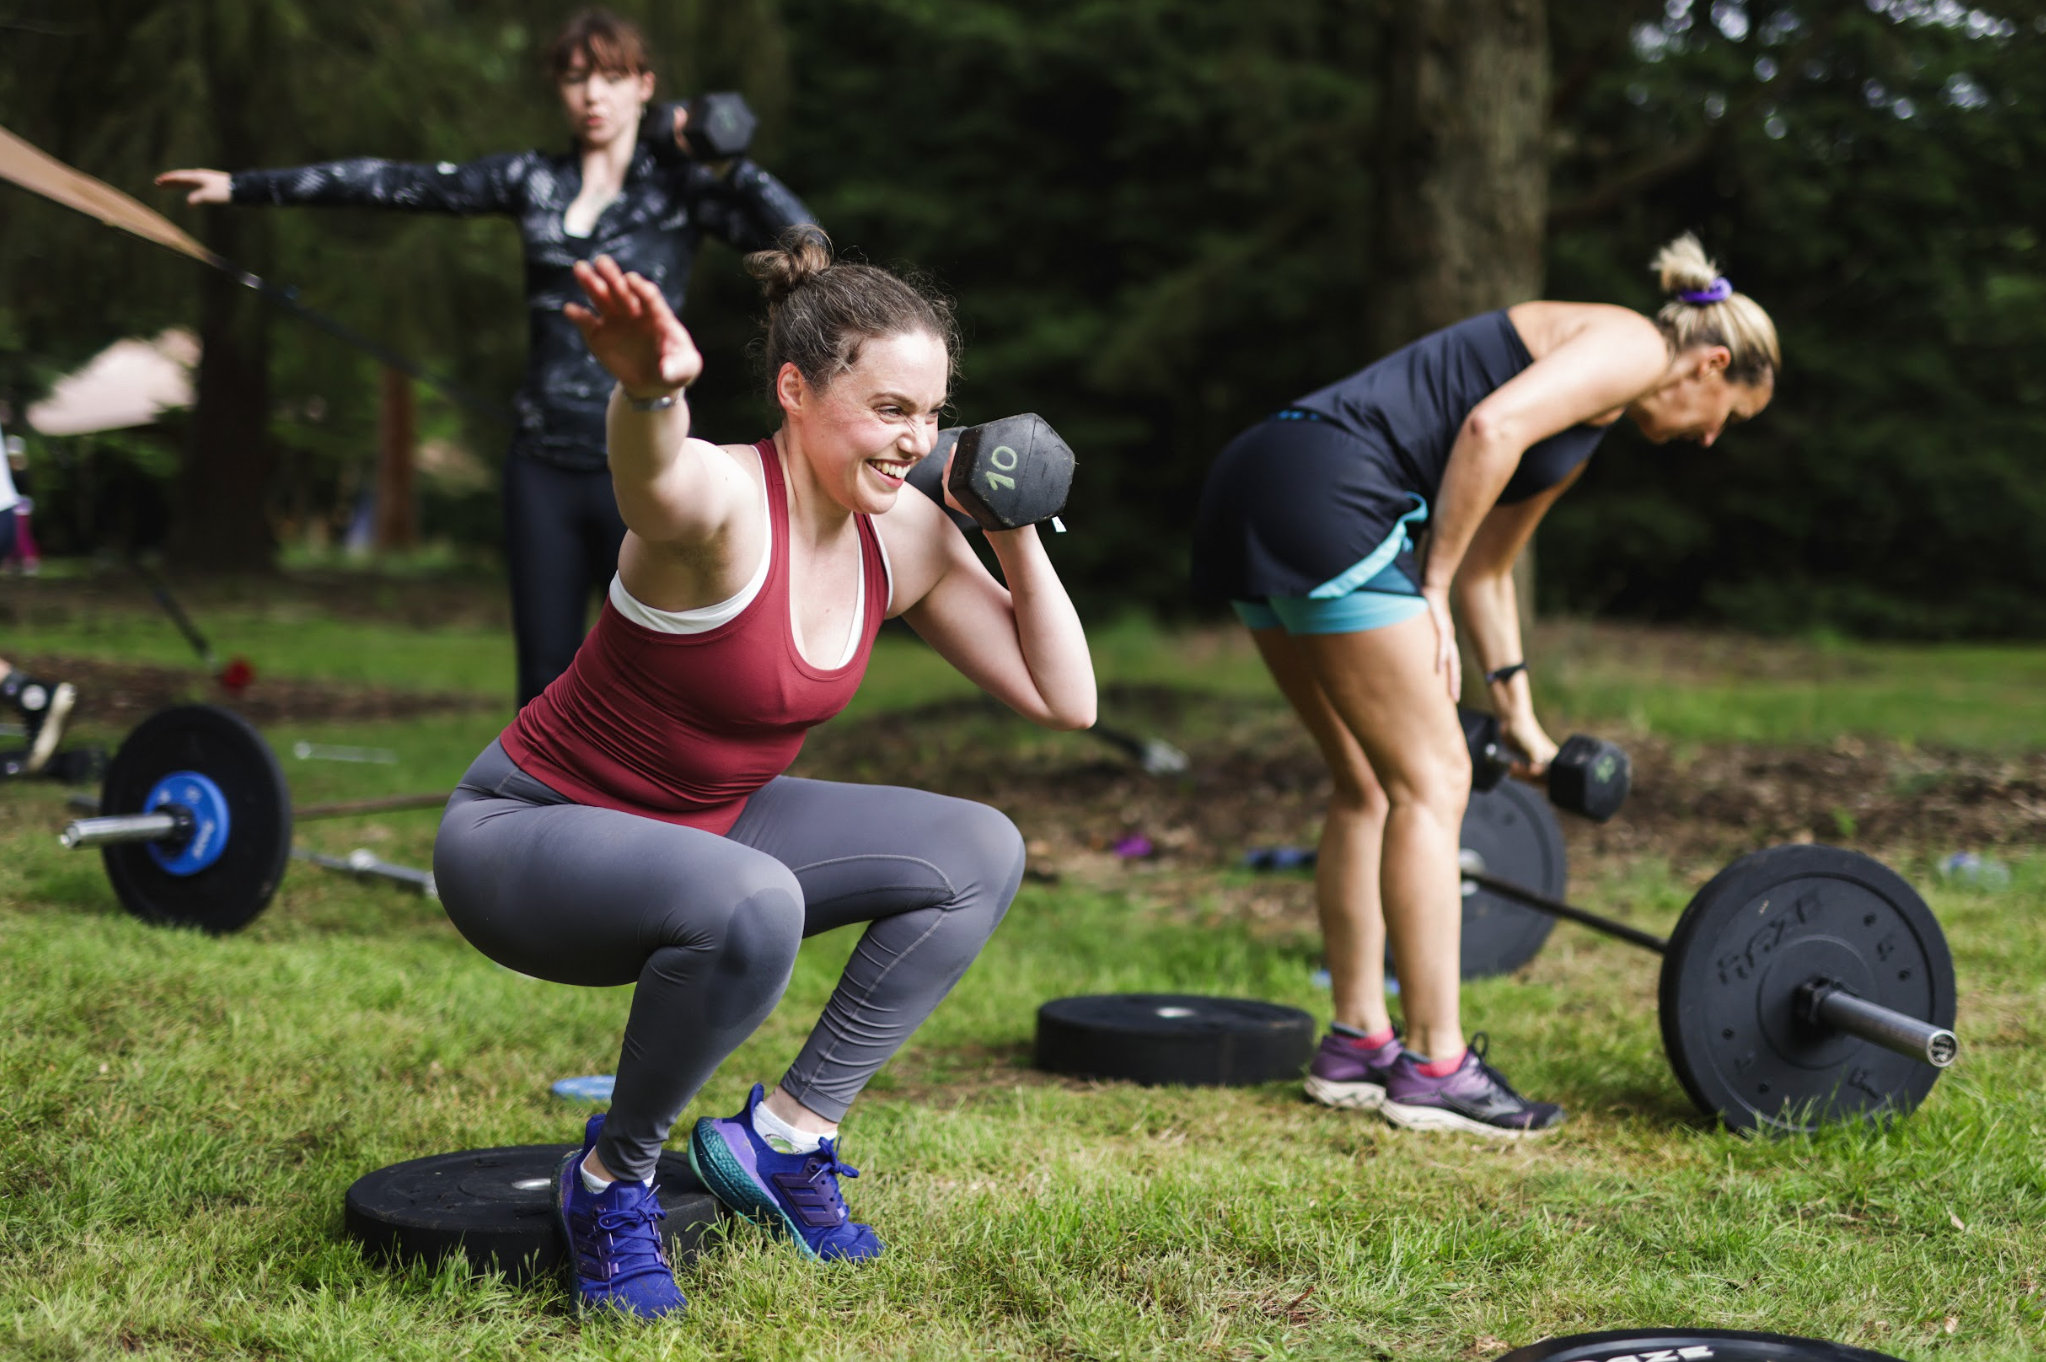
How to squat properly: a StrongHer guide

The holy squat. As women, we are told we should squat - to build that bubble booty, of course. As women, we are also told not to squat - or at least not too heavy - as it will make us look manly. We are told we should squat with a kettlebell. Or that we should do split squats, angeling the toes of our feet at 45 degrees, leaning our ribcage forwards while using grip bands to hold a 50kg dumbbell in the opposite arm. As women, the fitness industry gives us mixed signals - all the F*CKING TIME!!
The holy squat. This mythical creature has been mystified and demystified a million times. SO to demystify it once and for all, we spoke to our lovely coach Ella who helped us put together this squat 101 guide.
Disclaimer: You’ll never get confused about squatting again after reading this.
Why we love a good squat: the benefits
There’s a good reason why the squat is such a popular exercise. It’s a gift that keeps on giving. The squat is a compound movement, which means it’s the type of exercise that works multiple body parts at the same time - including your core. Because multiple muscle groups are recruited at the same time we can lift heavy, and build up the muscle strength of multiple muscle groups - at the same time. Also, core strength! Squats are one of the most effective abs exercises out there as engaging your core while squatting is not a fancy addition - it’s a must. And finally, squats can really help build strength in your hips and ankles which prevents injury in the long run, especially if you run or engage in high impact activities! What’s not to like, right??
Well… injuries, confusing stuff like squat depth (what on earth is that??), and also how do you even get started as a newbie??
Fear not, Ella is here to help you out!
What’s a squat: the basics
Let’s start with the basics - it seems like there’s a million variations of squats out there, and while this is true - it’s important to remember they are all just that - variations of the same movement. So while there are little tweaks in the position of your legs or the type of weight you are using, a squat is just lowering your hips while bending your knees, with your heels flat on the ground. That’s it. Now, onto the confusing variations:
Bodyweight squat: this is the squat in its simplest form. No added weights, you are just using the weight of your body.
Goblet squat: once you’ve mastered the bodyweight squat, it’s time to spice it up! This one is also great if you’re not yet comfortable with a barbell, or if you’re generally new to squatting. Grab a kettlebell or a barbell and hold it close to your chest - the rest of the movement is just the same as a bodyweight squat!
Leg press: this one is not technically a squat but hear us out! The movement pattern is the same, and it’s a great substitute if you need the extra support of a machine or if you cannot perform a barbell squat for any reason (such as a busy gym or a shoulder injury).
Barbell Back squat: the OG squat. Why? You can load the heaviest weight on this variation. Also, this one works the gluteus medius (your side glute) more which helps keep your knees over your toes.
Barbell Front squat: this one is slightly more advanced but your hard work will pay off. It’s more focused on your quads, and is great for training to keep the torso upright. Did we mention it will help you improve your front rack position? This one will pay dividends in the long run as you progress to advanced lifts such as the push press and thrusters.
Sumo squat: the extra challenge squat! Due to its wider stance, it works your adductors (inner thighs) like hell. Please avoid doing this one if you're struggling to keep your knees over toes in the other squat variations - this would be a recipe for disaster.

How to perform a squat: the technique
Here’s Ella’s best advice on how to start squatting like a pro - especially if you’re a complete beginner! First, start with bodyweight squats. This is all about mastering the movement, and feeling how your body moves through it. Once you’re feeling comfortable with these, grab a kettlebell or a barbell and give the goblet squat a go. Once you’ve mastered this bit too, you’re ready to move onto the barbell! Start small - this is what the 7 kg barbell is for. You might need to stay squatting just this one for a while, as it’s SO important to get your form right before adding more weight. Ella’s top tip here is to squat with your HIPS, not your knees - don’t think ‘knees forward’, think ‘hips back’ - just as if you’re sitting down on a chair. The easiest way to get injured is to try squatting heavy when your form is not quite there yet. No ego lifts!
Now, onto the confusing bits: squat depth. This basically means how low you can get down in a squat - while still maintaining proper form! Ideally, the lower, the better, as a lower squat means better range of motion. Different coaches willl have different takes on this - but if you ask Co-Founder Tig, you’ll have to be getting to a MINIMUM of 90 degrees. It’s all well and good piling the weight on the bar, but if you’re moving it to a depth of 40-60 degrees then NO REP!
We recognise that all bodies are different and you might need to make adjustments depending on things like leg length and mobility! You might just need to adjust your stance - a good starting point is to try squatting with your feet a bit wider than shoulder width apart. Remember - all bodies are different, and what might look like the ‘perfect’ form for on friend might not necessarily translate to your body too. There’s no right or wrong here - it’s about making it work for YOUR body. If you’re still struggling to get that depth, we’d recommend incorporating some hip mobility drills alongside your squat training!
Last but not least - injuries. As mentioned, over time you’ll notice it’ll become easier to squat heavier, and before you know it, you’ll be squatting 30kg, 50kg, and even 70kg! Sky's the limit! BUT. With great power comes great responsibility. And your responsibility - to yourself and your strong body, is to make sure you don’t get yourself injured in the process. How? A few things:
Check your footwear at the door! It’s important to be in flat shoes - not running shoes - otherwise the ankle and foot will be unstable. This does not mean you need to go and buy some new sneaks (if you don’t want to) but squat without trainers on instead

Make sure the whole foot is on the floor. At all times - this is a non-negotiable!
Make sure you’re not jumping up in weight too fast - focus on form.
Go slow on your way down (3s) and a bit faster on the way up (1s).
Work on your breathing: breath in before your squat, and breath out when you get to the top. A really helpful cue here: breath as if you’re going underwater! This is especially important as you start squatting heavier!
Be mindful that your chest isn’t collapsing forward
Well, that’s squatting 101. We’ve covered a lot, and we know it might feel a bit technical at times. But always remember that squatting is one of those movements that your body naturally engages in day in and day out, so you likely already know how to do it really well!